Canvas Print > Arts > Artists > P > Melton Prior
Canvas Print : The Battle of Ulundi. Inside the square


![]()
Canvas Prints from Mary Evans Picture Library
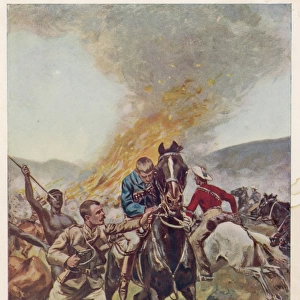
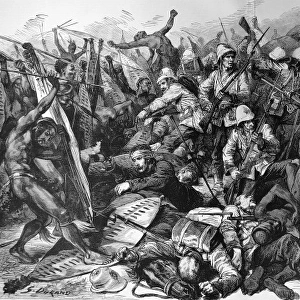
The Battle of Ulundi. Inside the square
Scene of battle from the British position, inside the square repulsing the Zulus. British casualities were light, but the Zulus were decimated by the use of Gatling guns and the Martini-Henry. The Battle took place on 4th July 1879. Melton Prior, the ILN artist who drew the original sketches was so impressed with Zulu bravery he swore he had seen nothing like it
Mary Evans Picture Library makes available wonderful images created for people to enjoy over the centuries
Media ID 4376168
© Mary Evans Picture Library 2015 - https://copyrighthub.org/s0/hub1/creation/maryevans/MaryEvansPictureID/10218332
1879 Bravery Drew Gatling Guns Impressed Martini Melton Position Prior Sketches Ulundi Zulu Zulus Decimated Repulsing Swore
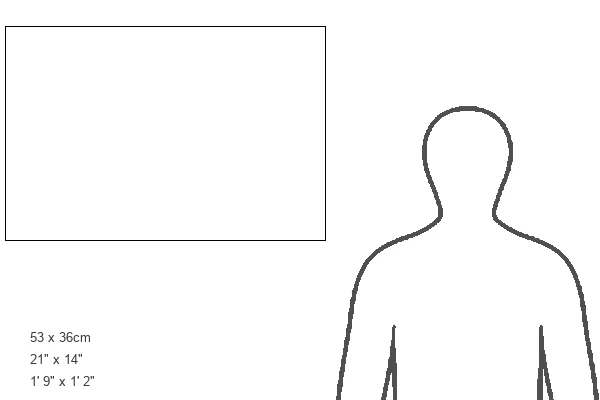
21"x14" (53x35cm) Canvas Print
Introducing the Media Storehouse Canvas Prints collection featuring "The Battle of Ulundi. Inside the Square" by Rights Managed from Mary Evans Prints Online. This captivating image transports you back to the heart of the historic battlefield, offering a unique perspective from the British position within the square. Witness the intense moment as the British troops repel the Zulu charge, their determination etched on their faces. The use of advanced Gatling guns and Martini-Henry rifles left a devastating impact on the Zulu army, with casualties being significantly higher on their side. Our high-quality canvas prints bring the rich history of this pivotal moment in time into your home or office, adding an intriguing conversation piece and a touch of elegance to any space. Order yours today and relive the past with stunning detail and authenticity.
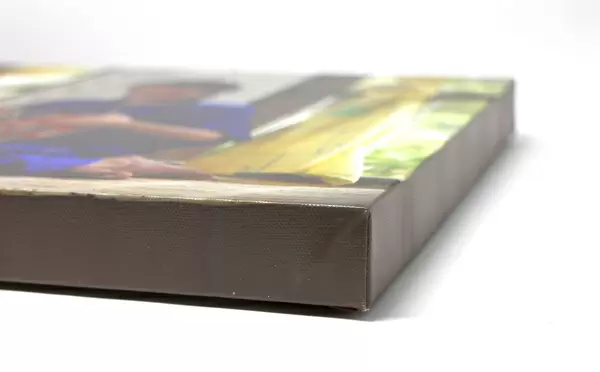
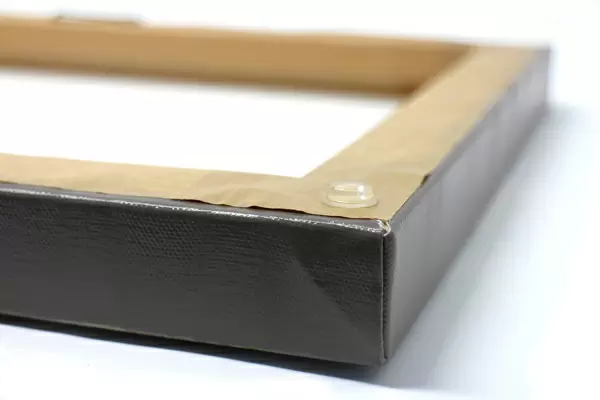
Ready to hang Premium Gloss Canvas Print. Our archival quality canvas prints are made from Polyester and Cotton mix and stretched over a 1.25" (32mm) kiln dried knot free wood stretcher bar. Packaged in a plastic bag and secured to a cardboard insert for transit.
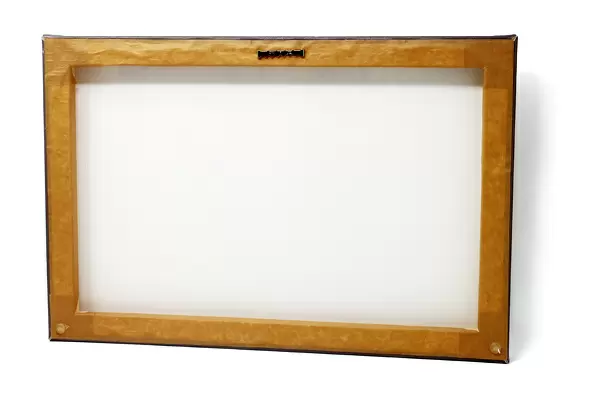
Canvas Prints add colour, depth and texture to any space. Professionally Stretched Canvas over a hidden Wooden Box Frame and Ready to Hang
Estimated Product Size is 53.3cm x 35.6cm (21" x 14")
These are individually made so all sizes are approximate
Artwork printed orientated as per the preview above, with landscape (horizontal) orientation to match the source image.
EDITORS COMMENTS
This powerful historical print captures the intense Battle of Ulundi, which took place on 4th July 1879. The scene depicts the British forces inside the square, repulsing the Zulus with their advanced weaponry such as Gatling guns and Martini-Henry rifles. Despite light casualties on the British side, the Zulus suffered heavy losses and were decimated in this fierce conflict.
The artist behind this remarkable depiction was Melton Prior, whose original sketches of the battle showcased not only the strategic importance of Ulundi but also highlighted the incredible bravery displayed by the Zulu warriors. Prior was so impressed by their courage that he swore he had never witnessed anything like it before.
Through this image, viewers are transported back in time to a pivotal moment in history when two formidable forces clashed in a brutal struggle for dominance. The Battle of Ulundi remains an important chapter in military history, showcasing both the horrors of war and acts of valor from all sides involved.
This Rights Managed print is a poignant reminder of a significant event that shaped nations and lives forever.
MADE IN THE UK
Safe Shipping with 30 Day Money Back Guarantee
FREE PERSONALISATION*
We are proud to offer a range of customisation features including Personalised Captions, Color Filters and Picture Zoom Tools
FREE COLORIZATION SERVICE
You can choose advanced AI Colorization for this picture at no extra charge!
SECURE PAYMENTS
We happily accept a wide range of payment options so you can pay for the things you need in the way that is most convenient for you
* Options may vary by product and licensing agreement. Zoomed Pictures can be adjusted in the Basket.