
Buddhism Collection (page 13)
"Buddhism: A Journey through Sacred Sites and Spiritual Symbols" Embark on a spiritual odyssey as we explore the profound teachings of Buddhism


All Professionally Made to Order for Quick Shipping
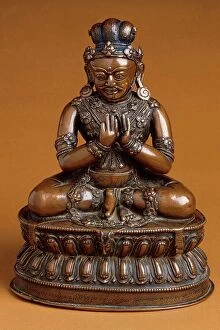
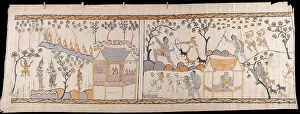
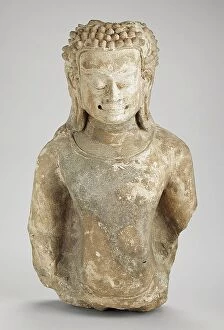
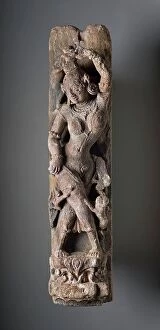
"Buddhism: A Journey through Sacred Sites and Spiritual Symbols" Embark on a spiritual odyssey as we explore the profound teachings of Buddhism, a philosophy that has captivated millions around the world. From the breathtaking Tigers Nest Monastery in Bhutan to the serene reflection of Angkor Wat Temple in Siem Reap, Cambodia, these sacred sites hold deep significance for Buddhists. Intriguingly, an ancient sculpture named Amitabha emerges from history's depths. This enigmatic figure represents the Buddha of the Western Pure Land (Sukhavati), captivating our imagination with its mysterious origins dating back to 1700. Delve into Buddhist cosmology with Bardo Mandala, a mesmerizing Thangka painting illustrating the transitional period between death and reincarnation. The vivid colors and intricate details depict this ethereal journey like never before. The Wheel of Life or Samsara serves as a powerful symbol within Buddhism. Its perpetual motion reminds us of life's cyclical nature and encourages introspection on breaking free from suffering. Witness its depiction in various forms - be it etched onto temple walls or intricately crafted sculptures. Angkor Wat Temple stands tall amidst Siem Reap's stunning landscape, casting an enchanting reflection upon nearby lakes. Explore this architectural marvel that seamlessly blends Hindu and Buddhist influences, leaving visitors awestruck by its grandeur. Travel further to Afghanistan's Bamiyan Valley where remnants of Giant Buddha statues stand as silent witnesses to centuries gone by. Despite their tragic destruction, they continue to inspire awe and reverence for their historical significance. As dawn breaks over Borobudur in Central Java, Indonesia, witness a majestic sunrise illuminating a Buddha statue adorned with Dharmachakra Mudra hand position – symbolizing teaching and enlightenment, and is here that one can truly feel connected to Buddhist principles amidst nature's beauty. Marvel at Sandstone sculptures depicting Yakshini, benevolent tree spirits from Sanskrit mythology.