
British Battles On Land And Sea Collection
"British Battles on Land and Sea: A Glimpse into Historical Conquests" Step back in time with these captivating artworks from the late 19th century


All Professionally Made to Order for Quick Shipping
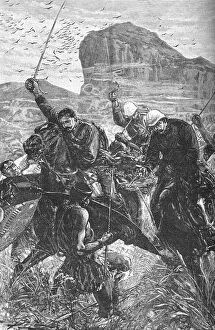
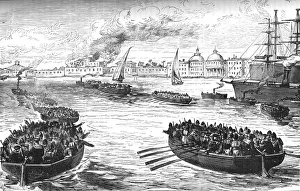
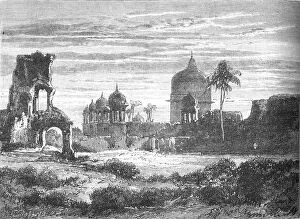
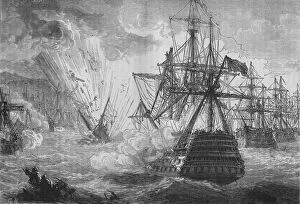
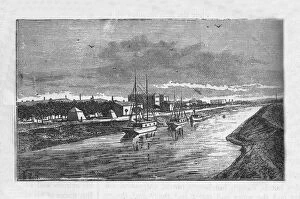
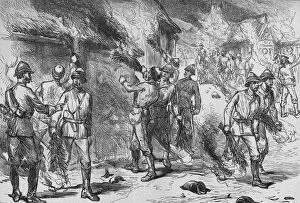
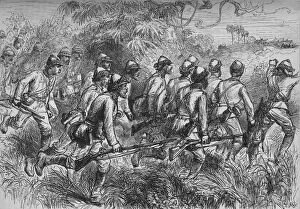
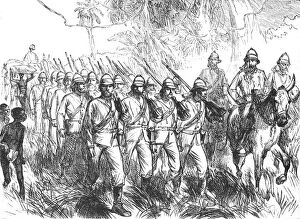
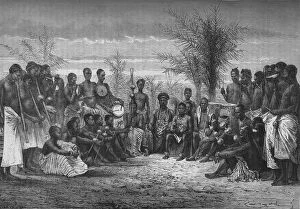
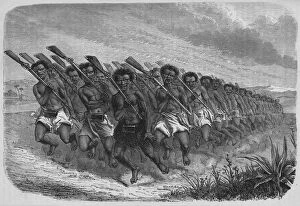
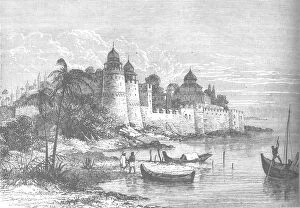
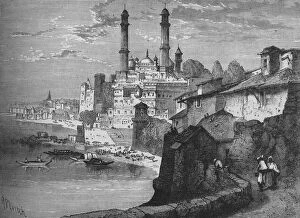
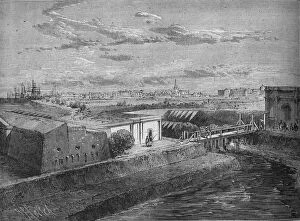
"British Battles on Land and Sea: A Glimpse into Historical Conquests" Step back in time with these captivating artworks from the late 19th century, showcasing significant British battles on both land and sea. From the lush landscapes of Guadaloupe to the desolate plains of Isandhlwana, these illustrations offer a glimpse into pivotal moments in history. In W. P's masterpiece "Guadaloupe, " we are transported to a tropical battleground where British forces clashed against formidable opponents. The vibrant colors bring to life the intensity of this conflict, highlighting the bravery and resilience of those involved. "The Dash with the Colours" captures the heart-pounding chaos at Isandhlwana in 1879. This dramatic depiction showcases soldiers valiantly defending their positions amidst overwhelming odds. The artist's attention to detail allows us to feel as if we are witnessing this historic event firsthand. As we examine "Plan of Defences at Rorkes Drift, " our eyes trace every line strategically drawn by an unknown hand. This meticulous plan reveals how British troops fortified themselves against imminent attacks, demonstrating their resourcefulness even in dire circumstances. The accompanying "Plan of Marches near Isandhlwana" takes us on a journey through treacherous terrains as soldiers navigate challenging conditions en route to battle. It serves as a testament to their endurance and determination during long campaigns. Another artwork transports us straight into Alexandria after its bombardment in 1882. In "Landing Troops at Khedives Palace, " we witness brave men disembarking onto foreign shores, ready for whatever challenges lie ahead. Their resolve is palpable as they step ashore amidst destruction caused by war. Moving inland, "Umballa" offers a glimpse into military operations within India during this era—a testament to Britain's imperial reach across continents. Meanwhile, "Cathcarts Hill" provides an aerial view capturing the strategic importance of elevated positions in battle.