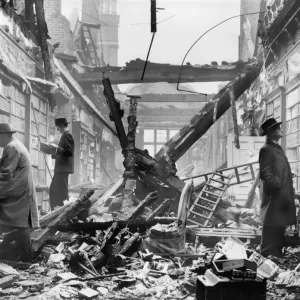
Print of Second-Corporal Collier in a flooded mine gallery


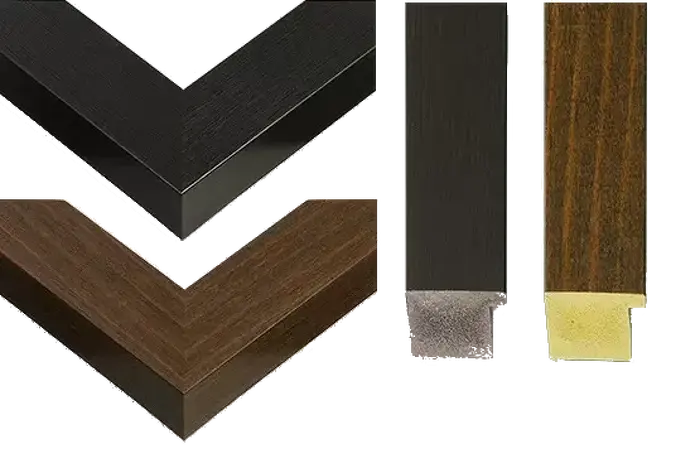
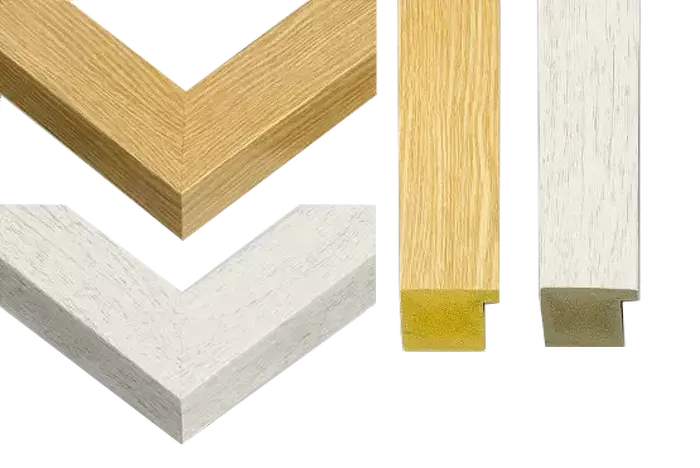


Framed Prints From Fine Art Finder
This artwork is available as
Framed Print of Second-Corporal Collier struggling out of a mine gallery nearly full of water after
STC413331 Second-Corporal Collier struggling out of a mine gallery nearly full of water after completing his work (litho) by Holloway, Edgar Alfred (1870-1941); Private Collection; (add.info.: Second-Corporal E.J. Collier, of the 176th Tunnelling Company, R.E.; ); The Stapleton Collection; British, out of copyright. © The Stapleton Collection / Bridgeman Images
Artwork Licensed From Fine Art Finder (www.bridgemanimages.com)
Your chosen combination is quickly and professionally made to order - Shipping & Delivery Details
If you are not entirely happy with your items, simply return them to us within 30 days for a replacement or full refund - 30 Day Returns
Media ID 23475528
Editors' Comments
Bring the heroic spirit of Second-Corporal Collier into your home with our Framed Prints. This powerful image, captured by Holloway and available through Bridgeman Images at Fine Art Finder, depicts Collier's determination as he struggles out of a nearly flooded mine gallery, having completed his crucial work. Our Framed Prints showcase the intricate details and colors of this historic lithograph, making it an addition to any room. Order now and relive the courage and resilience of this remarkable figure from history.
This artwork is also available as...
Photo Prints - Experience the raw power and determination of Second-Corporal Collier in this photograph from the Media Storehouse collection. This evocative print, brought to you by Bridgeman Images from Fine Art Finder (STC413331), shows Holloway's lithograph of Second-Corporal Collier struggling out of a mine gallery nearly full of water. The image transports you to the heart of the mining industry, capturing the grit and resilience of those who worked in these treacherous conditions. Add this inspiring piece to your home or office decor to ignite conversation and evoke a sense of courage and perseverance.
Poster Prints - Bring history to life with our Poster Prints featuring Second-Corporal Collier, an iconic image of bravery and resilience. This powerful lithograph by Holloway, sourced from Bridgeman Images through Fine Art Finder, captures the moment of relief and determination as Collier struggles out of a flooded mine gallery, having completed his crucial work. Add this inspiring piece to your home or office to ignite conversation and evoke a sense of perseverance and strength.
Metal Prints - Add a touch of industrial chic to your space with Metal Prints, featuring durable reproductions of fine art. 'Second-Corporal Collier struggling out of a mine gallery nearly full of water after' by Holloway is expertly reproduced on metal for a decorative piece that combines art and technology.
Canvas Prints - Bring the heroic spirit of Second-Corporal Collier into your home with our Canvas Prints. This powerful image, captured by Holloway and available through Bridgeman Images at Fine Art Finder, depicts Collier's determination as he struggles out of a flooded mine gallery, completing his vital work. Our canvas prints faithfully reproduce the intricate details and rich colors of this historic lithograph, creating a inspiring addition to any room. Experience the emotion and depth of this iconic moment, and celebrate the courage and resilience of the human spirit with our Canvas Prints.
Cushions - Cushions featuring Second-Corporal Collier struggling out of a mine gallery nearly full of water after, an iconic lithograph by Holloway from the Bridgeman Images collection. Perfect for adding a touch of art and history to your furniture, these Cushions are ideal for interior designers and homeowners seeking vintage-inspired accents.
Tote Bags - Elevate your everyday essentials with our Tote Bags, featuring a powerful image of Second-Corporal Collier from Bridgeman Images. Perfect for work or play, these reusable bags are made for durability and style. Ideal for grocery shopping, beach trips, or as a statement accessory, our Tote Bags offer functionality and artistic flair to any outfit.
Modern 14"x12" (36x31cm)
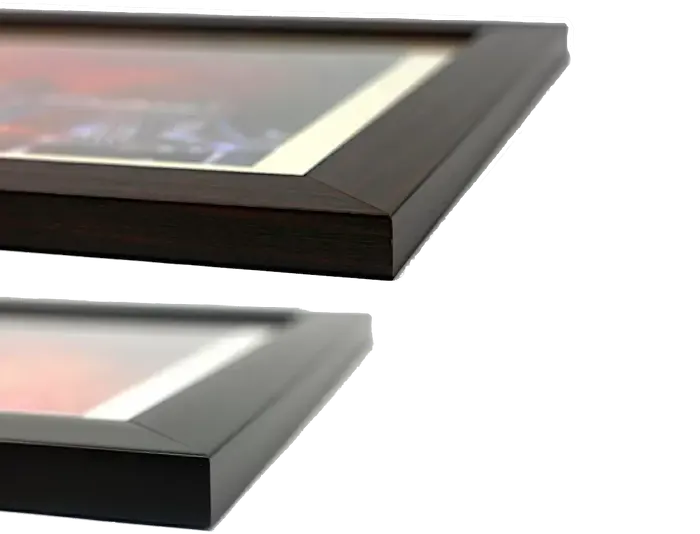
Ready to Hang Contemporary Framed Prints adds style, protection, and a polished touch to your space - effortlessly.
Your artwork will be printed as shown in the preview. To adjust please select Print Options under the Buy button
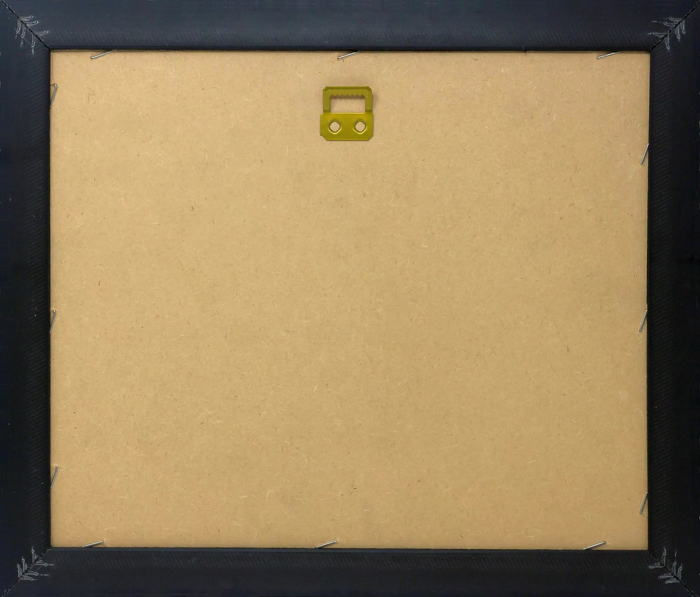
Wood effect frame, card mounted, 10x8 fade resistant photo print. Overall outside dimensions 14x12 inches (36x31cm). Environmentally and ozone friendly, 40mm wide x 15mm Polycore® moulding has the look of real wood, is durable and light and easy to hang. Biodegradable and made with non-chlorinated gases (no toxic fumes) it is efficient; producing 100 tons of polystyrene can save 300 tons of trees! Prints are glazed with lightweight, shatterproof, optical clarity acrylic (providing the same general protection from the environment as glass). The back is stapled hardboard with a sawtooth hanger attached. Note: measurements provided are estimated outer dimensions, which include both the image and the frame. While we aim to keep sizing consistent, exact dimensions may vary slightly due to differences in print size or production requirements, which may result in a variation in the overall size (up to approximately 2.5cm (1"))
These are individually made so all sizes are approximate
Estimated Image Size (if not cropped) is 18.5cm x 24.4cm (7.3" x 9.6")
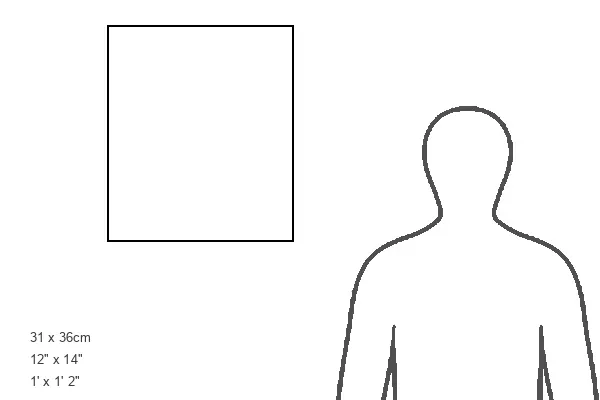
Estimated Product Size is 31cm x 36cm (12.2" x 14.2")
Features in These Collections
Home > Fine Art Finder > Artists > Edgar Alfred Holloway
Home > Fine Art Finder > Artists > W. Avis
Home > Fine Art Finder > War and Military Scenes: 20th Century
Home > Historic > World War I and II > World War I