
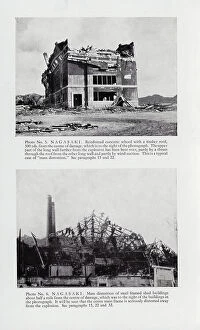
World War Two Collection (page 8)
"World War Two: A Glimpse into the Heroic Struggles and Triumphs" In 1942, amidst the chaos of World War Two, Winston Churchill stood tall


All Professionally Made to Order for Quick Shipping
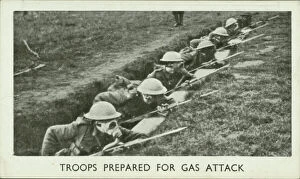
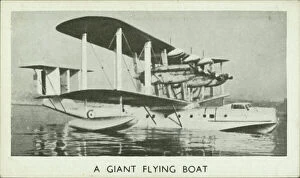
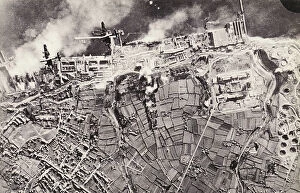
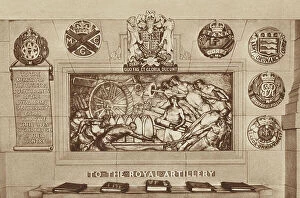
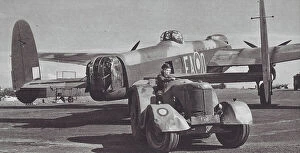
"World War Two: A Glimpse into the Heroic Struggles and Triumphs" In 1942, amidst the chaos of World War Two, Winston Churchill stood tall, his indomitable spirit shining through as he made his famous V for Victory sign. This symbolized hope and resilience in the face of adversity. The skies were ablaze with bravery as the Supermarine Spitfire V soared through enemy lines, its sleek design and powerful engine proving to be a formidable force against Nazi aggression. Alongside it, the Avro Lancaster B. I PP967 emerged as a true champion of the air, delivering devastating blows to German targets. On April 30th, 1945, history was forever etched when Red Army soldiers raised the Soviet flag over Berlin's Reichstag. Captured by Vladimir Grebnev's lens, this iconic photograph stands as a testament to their unwavering determination in liberating Germany from tyranny. Amidst these global struggles, Polish pilots from the renowned 303 Squadron took flight in 1940. Their courage knew no bounds as they fearlessly engaged enemy aircraft while flying their Supermarine Spitfire XIV planes – heroes defending freedom at all costs. At sea, HMS Illustrious sailed proudly in 1942; an aircraft carrier that played a pivotal role in protecting vital supply routes and launching relentless attacks on Axis forces. It became an emblem of British naval power during those turbulent times. Meanwhile, high above ground level flew Boeing B-17 Flying Fortress bombers - mighty machines raining destruction upon strategic targets with precision and might. These aerial behemoths struck fear into hearts across Europe. But not all victories required brute force alone; enter De Havilland Mosquito B. XVI – an agile marvel that silently infiltrated enemy territory under cover of darkness. Its stealthy missions brought critical intelligence back home safely.