
New Zealanders Collection
"Unyielding Courage: The Spirit Throughout History" From the battlefields of France to the shores of their homeland, they have left an indelible mark on history


All Professionally Made to Order for Quick Shipping
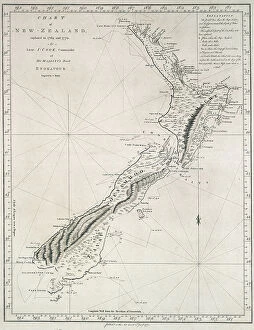
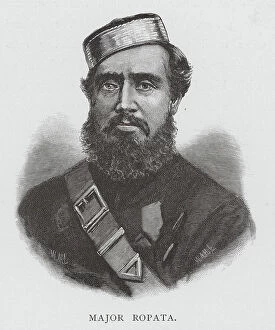
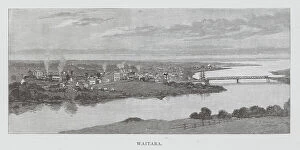
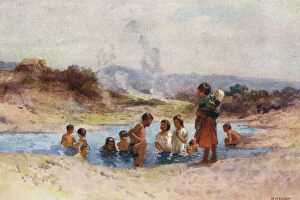
"Unyielding Courage: The Spirit Throughout History" From the battlefields of France to the shores of their homeland, they have left an indelible mark on history. In the midst of the First World War, ANZAC soldiers marched bravely towards the frontlines, their unwavering determination echoing through time. Captured in a poignant photograph from c1916, these warriors embody resilience and sacrifice. Another snapshot from 1914 showcases New Zealand soldiers hoisting a captured German flag high above their heads. With pride gleaming in their eyes, they symbolize victory against all odds. Their triumph serves as a testament to the unbreakable spirit that courses through every Kiwi's veins. Delving deeper into New Zealand's rich heritage, we encounter an exquisite ear ornament crafted from bowenite during the 19th century. This delicate piece reflects Maori culture and its deep connection with nature—a reminder that traditions endure even amidst changing times. Tattooed onto skin is another facet of Maori identity—an art form passed down through generations. A digitally restored reproduction reveals a striking tattoo adorning a chief's face in the 19th century—a visual representation of strength and ancestral lineage etched forever into memory. Beyond borders lie Australia and New Zealand—two nations intertwined by history and shared experiences. A vintage map depicting "New Holland" reminds us of this enduring bond forged over centuries—bound together by common values and aspirations for progress. Intriguingly captured in zincograph ink on cream wove paper are two Maori women squatting down—an intimate glimpse into daily life during 1894-95. Their presence evokes both curiosity and admiration for their customs, enriching our understanding of cultural diversity within New Zealand society. The gallantry displayed by colonial troops defending South Africa near Holspruit comes alive through lithographic artistry—a tribute to brave New Zealanders who stood firm in the face of adversity.