
Lower Back Collection
"Exploring the Depths of the Lower Back: From Running Injuries to Artistic Interpretations" Running injuries can take a toll on our lower back


All Professionally Made to Order for Quick Shipping
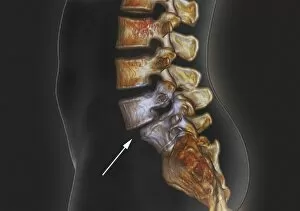
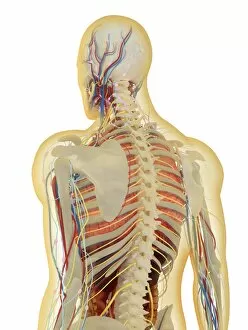
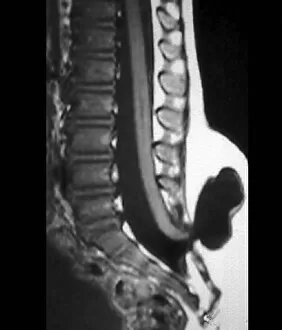
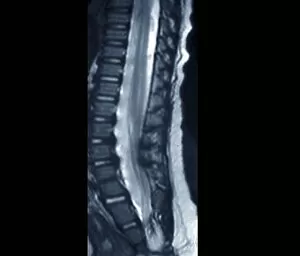
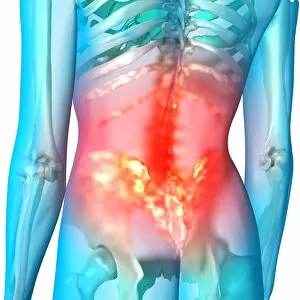
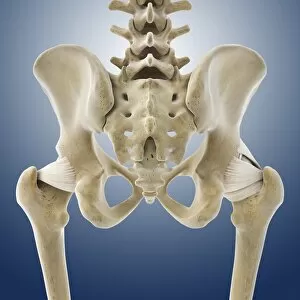
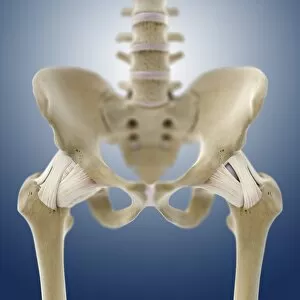
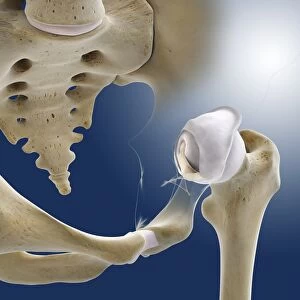
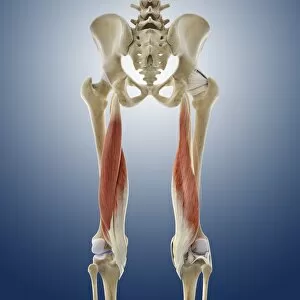
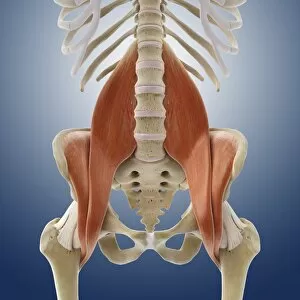
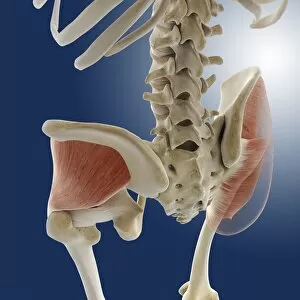
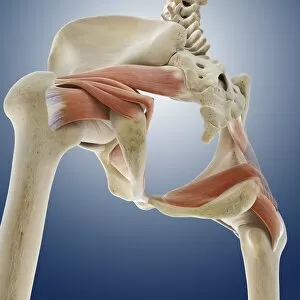
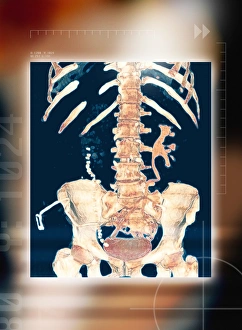
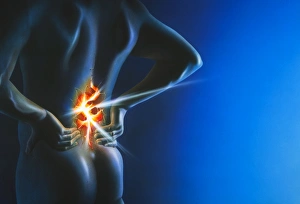
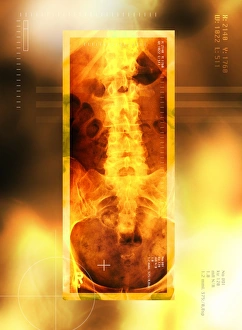
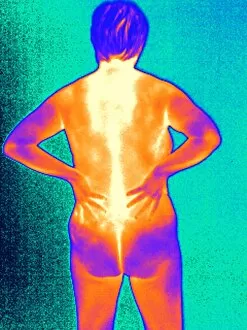
"Exploring the Depths of the Lower Back: From Running Injuries to Artistic Interpretations" Running injuries can take a toll on our lower back, but through conceptual artwork, we can visualize the road to recovery. Conceptual artwork depicting lower back pain serves as a reminder of the importance of maintaining a healthy spine. The slipped intervertebral disc is brought to life through intricate artwork, shedding light on this common source discomfort. A fascinating X-ray reveals the anatomy of a healthy lower back from a front view, showcasing its complex structure and labeled muscles. Coccyx pain may be challenging to comprehend, but with conceptual artwork, we gain insight into this often-overlooked area's significance. Spondylolisthesis comes alive in stunning 3D CT scans, allowing us to understand this condition affecting the alignment of vertebrae in the lower back. Delve into history with an 1831 artwork capturing superficial back muscles' beauty and complexity—a testament to human anatomy's wonder. The Australopithecus africanus pelvis depicted in STS-14 C015/6919 showcases how our ancient ancestors' lower backs evolved over time. Buttock muscles are not just for aesthetics; they play an essential role in supporting our lower backs—artwork C013/4414 brings them into focus. Medical illustrations reveal inflammation within the human back area—an eye-opening representation that emphasizes proper care and treatment options available. Explore beyond just the lower back—discover how it connects intricately with our nervous system, lymphatic system, and circulatory system within one captivating image.