
Lord Methuen Collection
"Lord Methuen: A Resilient Leader in the Face of Adversity" In the annals of history, Lord Methuen stands as a symbol of resilience and determination


All Professionally Made to Order for Quick Shipping
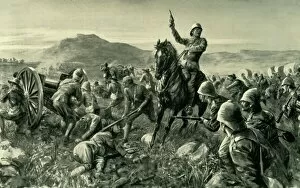
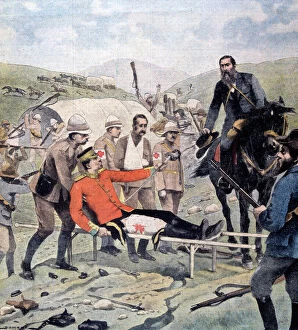
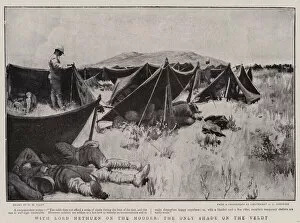
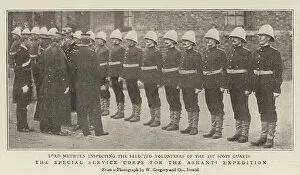
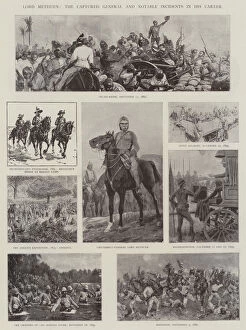
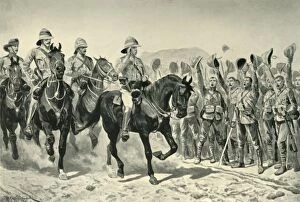
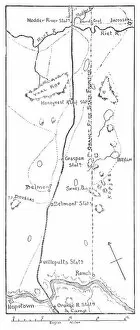
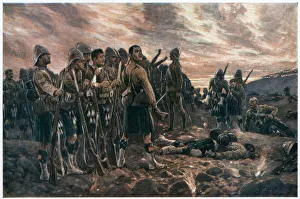
"Lord Methuen: A Resilient Leader in the Face of Adversity" In the annals of history, Lord Methuen stands as a symbol of resilience and determination. His name became synonymous with both triumph and defeat during his involvement in the tumultuous events of the Second Boer War. One iconic image captures Lord Methuen rallying his broken forces at Tweebosch in 1902. Created by Charles Mills Sheldon, this powerful depiction showcases his unwavering spirit amidst chaos and uncertainty. Another poignant moment unfolds as General Methuen surrenders to de la Rey on that fateful day, marking a significant turning point in the war. Amidst the scorching veldt, Lord Methuen found solace under the shade provided by Modder River. This lithograph aptly portrays him seeking respite from relentless battles while leading his troops through challenging terrain. However, not all chapters were marked by victory for Lord Methuen. The defeat suffered at Tweebosch is vividly captured in a color lithograph, showcasing how even great leaders face setbacks on their path to success. Throughout these trials, Lord Methuen was accompanied by Maj. -General Hector A. MacDonald who commanded the 3rd (Highland) Brigade alongside him. Together they faced numerous challenges but remained steadfast in their mission to serve their country. The Ashanti Expedition saw Lord Methuen's leadership shine once again as he spearheaded the Special Service Corps. This black-and-white photograph immortalizes his dedication to duty and willingness to go wherever he was needed most. Captured by Boer forces after being wounded at Tweebosch, Lord Methuen's release was depicted in a striking color lithograph that showcased both his sacrifice and eventual return to British hands—a testament to his indomitable spirit. As one among many commanders during the Boer War, Lord Methuen played an integral role in shaping its outcome.