
King Arthur Collection (page 2)
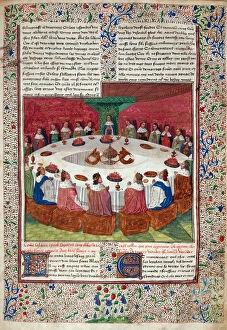
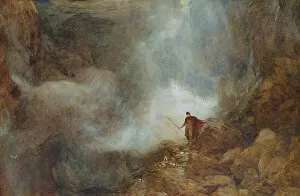
"King Arthur: A Legendary Tale of Knights and Magic" Step into the Great Hall of Winchester, England, where King Arthur's Round Table hangs in all its glory


All Professionally Made to Order for Quick Shipping
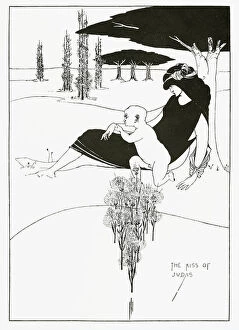
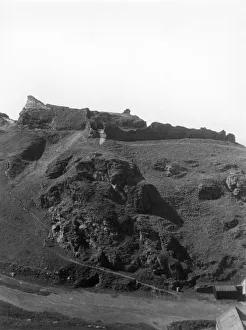
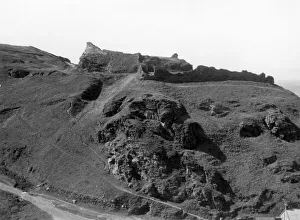
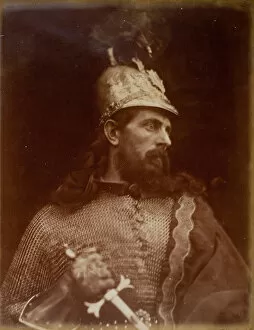
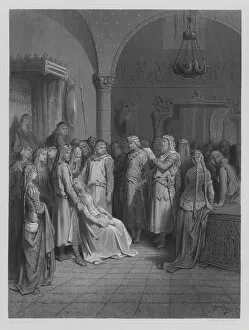
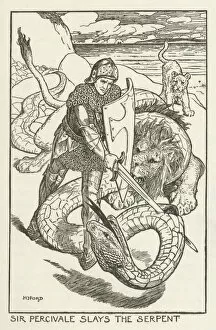
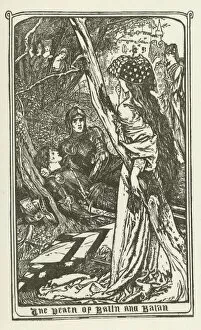
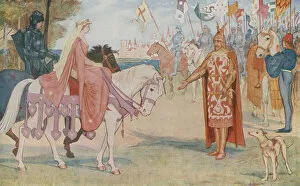
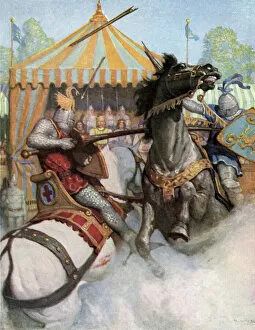
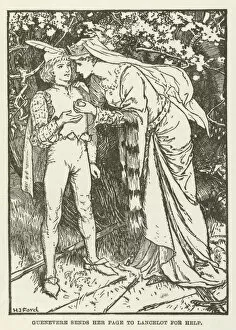
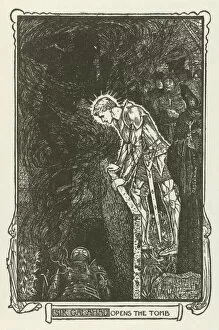
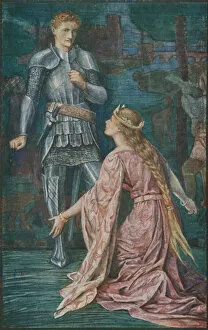
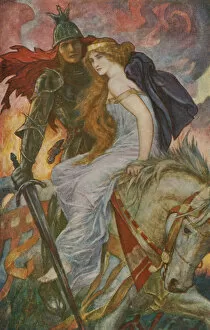
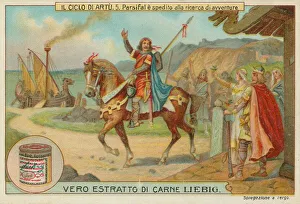
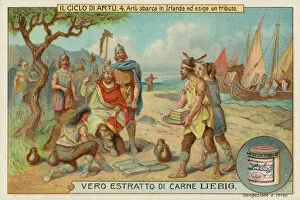
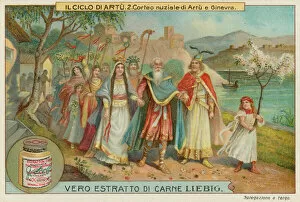
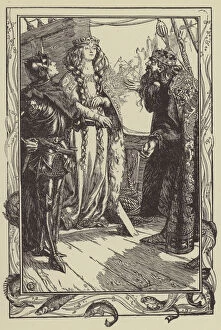
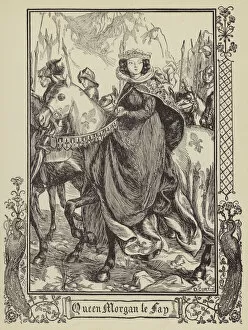
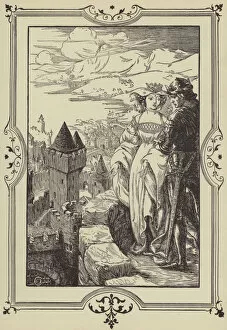
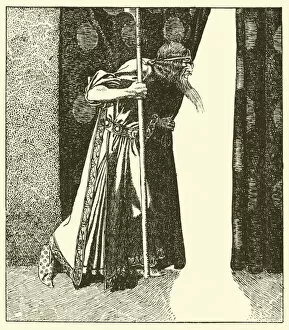
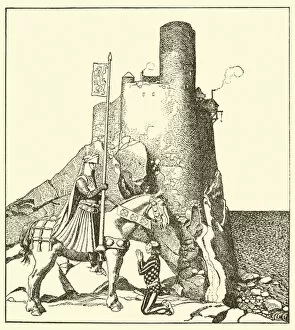
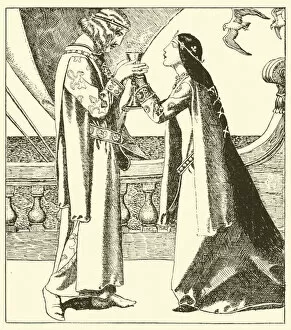
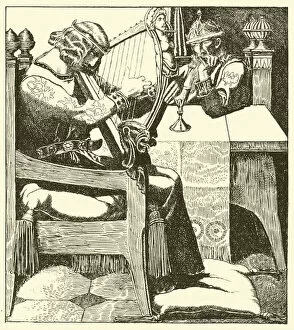
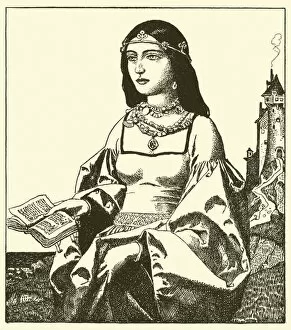
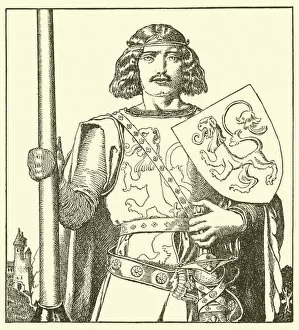
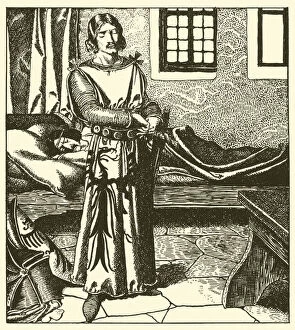
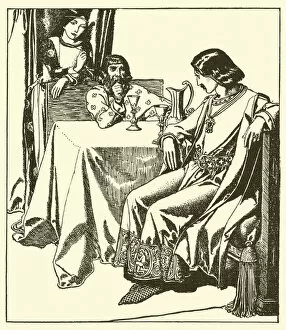
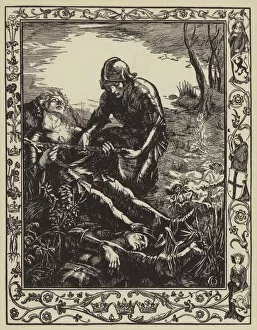
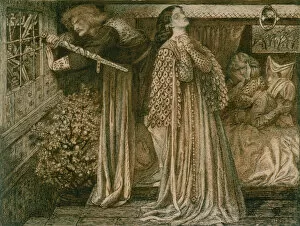
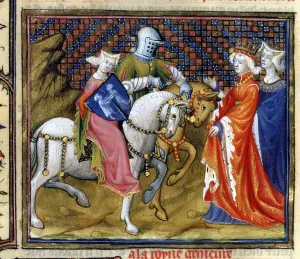
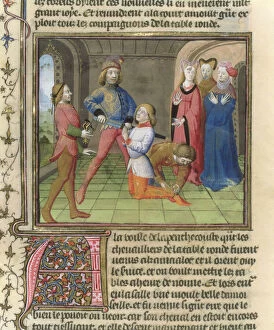
"King Arthur: A Legendary Tale of Knights and Magic" Step into the Great Hall of Winchester, England, where King Arthur's Round Table hangs in all its glory. This iconic symbol of unity and chivalry has captivated hearts for centuries. Travel to Tintagel Castle in Cornwall, England, a place steeped in legend and associated with the mighty King Arthur himself. Explore the rugged cliffs and imagine the tales that unfolded within these ancient walls. Witness a pivotal moment as Arthur draws the sword from the stone, an act that would change his destiny forever. In Walter Crane's enchanting artwork from 1911, we see courage personified as this young king embraces his true calling. Sir Bedevere casts Excalibur into the lake, returning it to its mystical origins. The power of this legendary sword resonates through time and reminds us of Arthur's noble quest for justice and honor. Vivien and Merlin come alive through Julia Margaret Cameron's lens in her captivating 1874 photograph. Their intricate relationship reveals both wisdom and deceit intertwined within Camelot's courtly intrigue. Aubrey Beardsley's illustrations bring Sir Thomas Malory's "Le Morte d'Arthur" to life in stunning detail. Lose yourself amidst these pages filled with valorous knights, tragic love affairs, and epic battles that shaped an era. The Lady of the Lake emerges from shimmering waters to present Excalibur to King Arthur once more. Her ethereal presence embodies magic itself as she guides him on his path towards greatness. Lancelot approaches Astolat Castle with grace and determination; his loyalty unwavering even amidst personal turmoil. Witness this knight’s journey unfold through evocative illustrations found within "Idylls of the King. " Behold a bronze sculpture immortalizing King Arthur himself by an unknown artist from 1513. This regal figure stands tall as a reminder of bravery against all odds, inspiring generations to come.