
Fought Collection (page 6)
"Fought: A Glimpse into History's Defining Moments" Stepping inside the interior of Nelson's flagship, H. M. S


All Professionally Made to Order for Quick Shipping
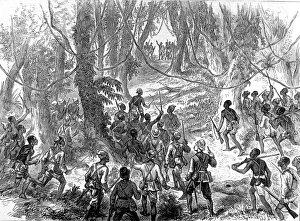
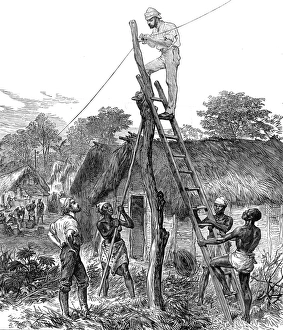
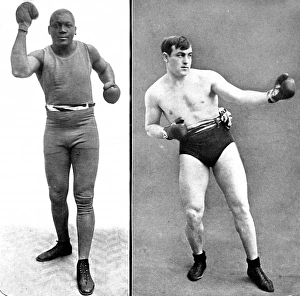
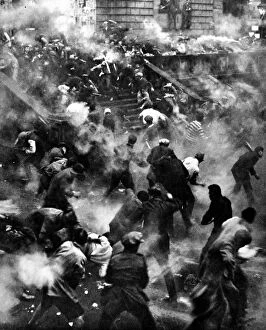
"Fought: A Glimpse into History's Defining Moments" Stepping inside the interior of Nelson's flagship, H. M. S. Victory at Trafalgar, one can almost feel the intensity and determination that fueled the legendary battle. Jack Johnson and James Jeffries' historic boxing match in 1910 showcased their unwavering spirit as they fought for glory in the ring. Tipu Sultan, a fearless warrior from the late 18th century, fought valiantly to defend his kingdom against foreign invaders. Lord Brooke, later known as the 6th Earl of Warwick, exemplified bravery on countless battlefields as he fearlessly led his troops into combat. George Orwell's writings reflect his relentless fight against oppression and injustice during tumultuous times of political unrest. The Last Stand of the Northamptons at Saran Sar on November 9th, 1918 serves as a poignant reminder of soldiers who fought with unwavering courage until their last breaths. Marshal Jean-Baptiste Bessieres displayed exceptional leadership skills while leading his troops into numerous battles during Napoleon Bonaparte's reign. Peter Wysocki's artistic depiction captures the essence of warriors engaged in fierce combat during an unknown conflict - reminding us that many have fought bravely throughout history without recognition or remembrance. The Battle of Drumclog in June 1679 stands as a testament to Scottish Covenanters who fiercely resisted religious persecution by fighting for their beliefs till victory was achieved. "Fought to a Finish" symbolizes an unyielding determination exhibited by individuals who refuse to give up even when faced with insurmountable challenges or adversities. The Revenge under Sir Richard Grenville epitomizes heroism as it engaged Spanish fleet off Flores - showcasing how one ship valiantly stood its ground against overwhelming odds.