
British Empire Collection
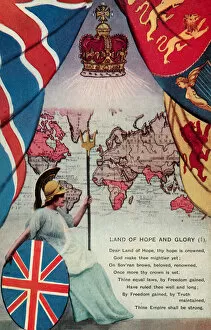
"The British Empire: A Global Legacy of Power and Influence" Step into the past with a captivating journey through the vast expanse of the British Empire


All Professionally Made to Order for Quick Shipping
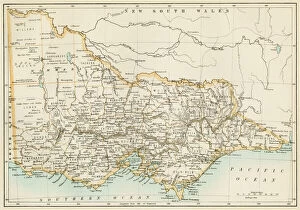
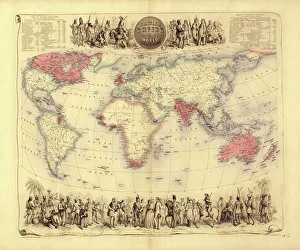
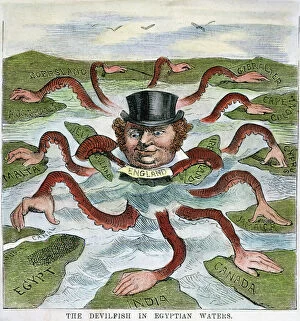
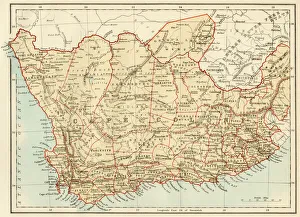
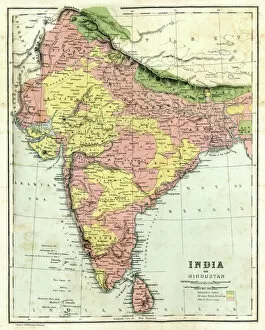
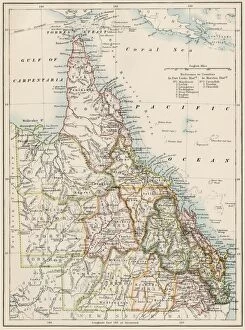
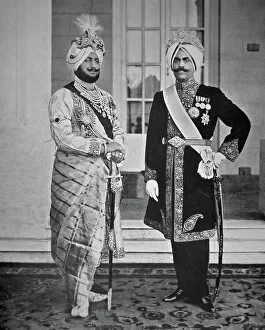
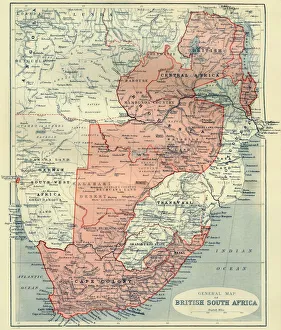
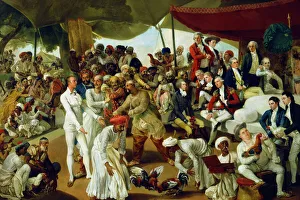
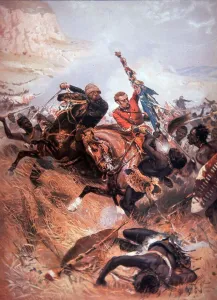
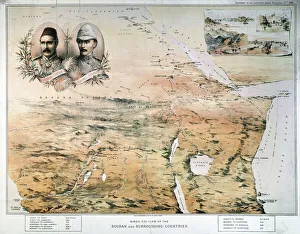
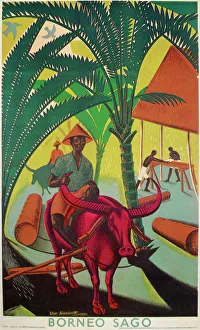
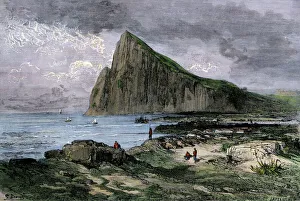
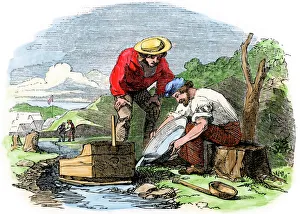
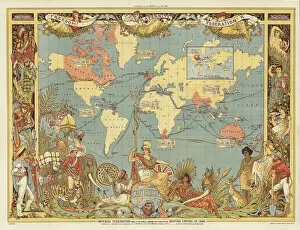
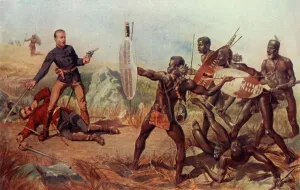
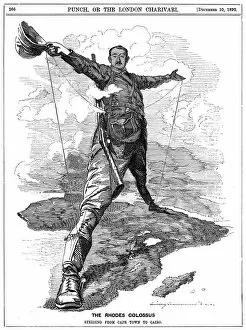
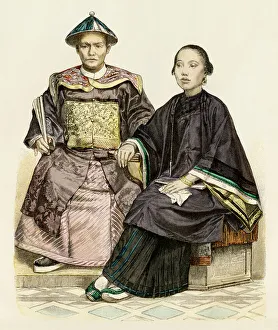
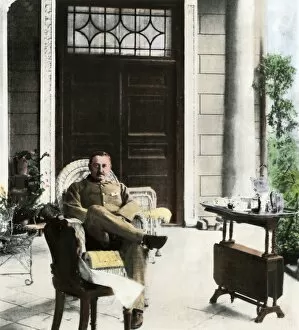
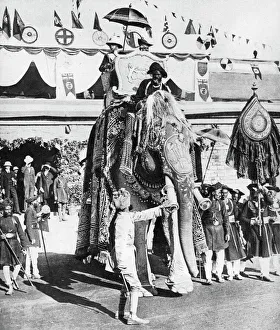
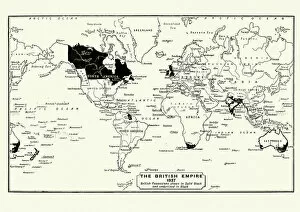
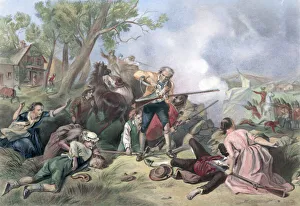
"The British Empire: A Global Legacy of Power and Influence" Step into the past with a captivating journey through the vast expanse of the British Empire. This 19th-century world map by Walter Crane unveils the sheer magnitude of this once-mighty empire, stretching across continents and oceans. Venturing down under to Victoria province in Australia during the 1800s, witness the imprint left by British colonization on distant shores. The resilience and determination of settlers shaped a thriving society amidst untamed landscapes. The Devilfish in Egyptian Waters, an American cartoon from 1882, portrays England as an octopus of imperialism extending its reach across every continent. Symbolizing both awe and criticism, it reflects Britain's ambition to expand its dominion worldwide. Traveling southwards to Cape Colony in South Africa, explore a map that illuminates how British influence transformed this region into a vibrant part of their empire. Discover unknown creators who meticulously charted General Map of British South Africa in 1900. Imperial Federation comes alive through vivid color lithographs showcasing unity within diverse territories under one imperial umbrella. This vision aimed at strengthening bonds between colonies and motherland while preserving individual identities. Delve into an antique map depicting India—a jewel in Britain's crown—where centuries-old traditions intertwined with colonial rule. Witness Hong Kong street scenes from the late 1890s; bustling markets bear testament to cultural fusion brought about by imperial trade routes. Unearth stories from Australian Gold Rush prospectors who flocked to uncharted lands seeking fortune amid rugged terrains during the mid-1850s. Their indomitable spirit echoes throughout history as they shaped Australia's destiny against all odds. Glimpse tragedy amidst triumph as we witness The Death of General Gordon in Khartoum on January 26th, 1885—an event etched forever in our collective memory. It serves as a reminder that empires are not immune to loss and sacrifice.