
Brandywine School Collection
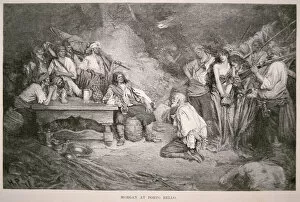
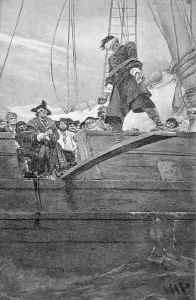
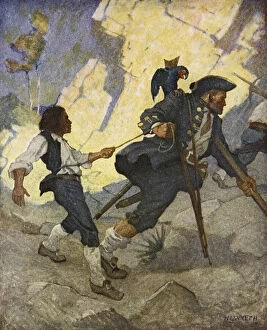
Brandywine School: A Glimpse into the Past "One more step, Mr. Hands, " said I, "and I'll blow your brains out


All Professionally Made to Order for Quick Shipping
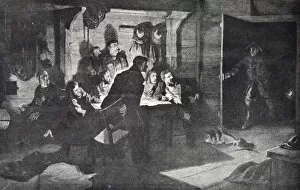
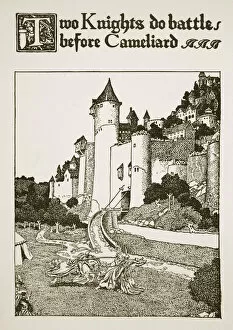
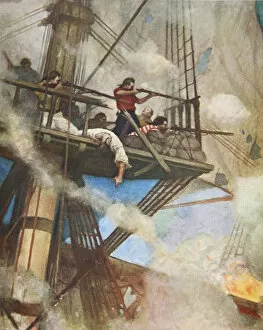
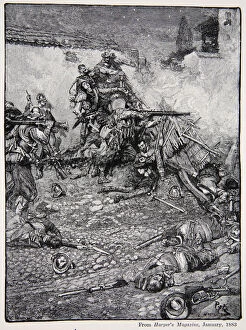
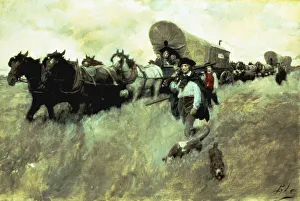
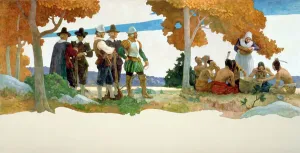
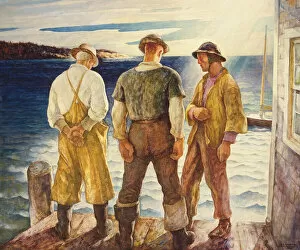
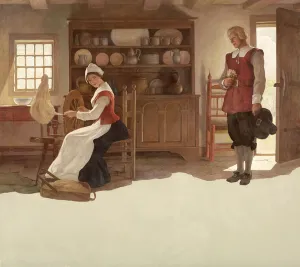
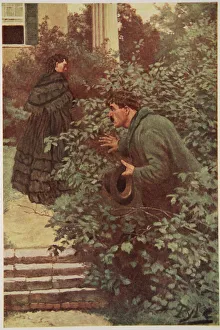
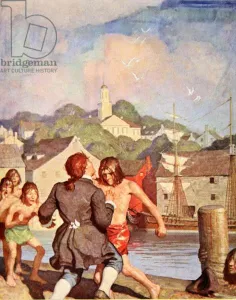
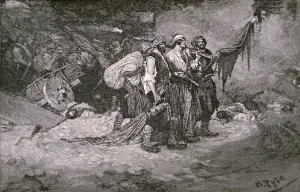
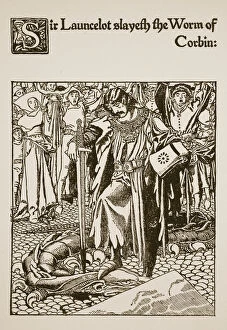
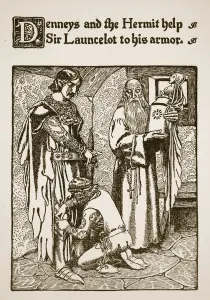
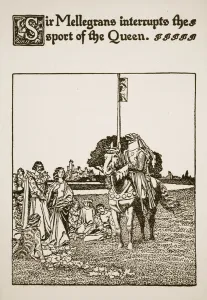
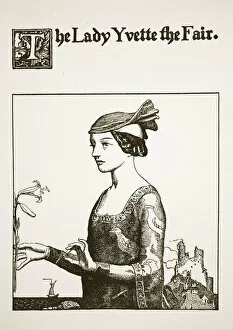
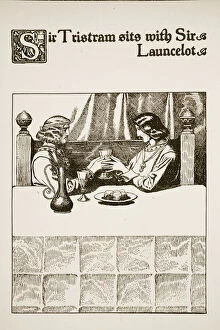
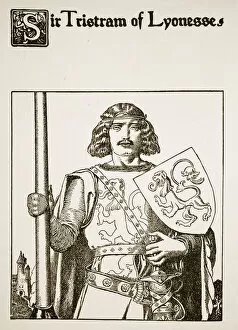
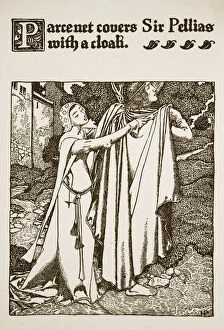
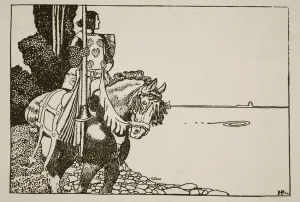
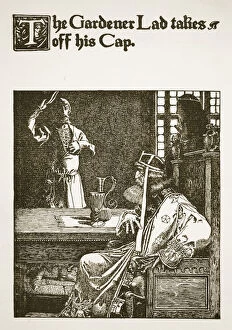
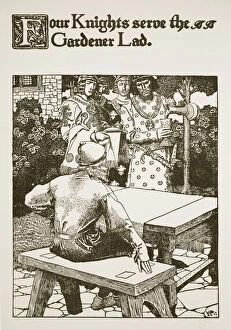
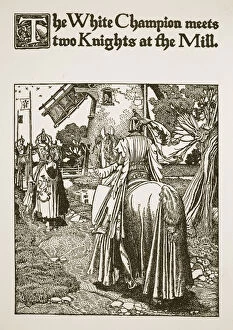
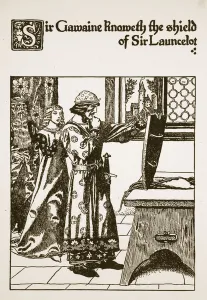
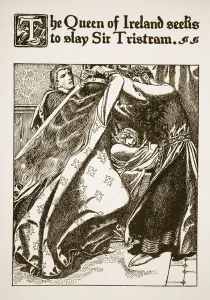
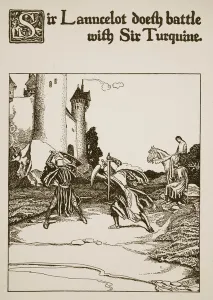
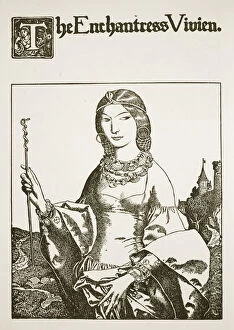
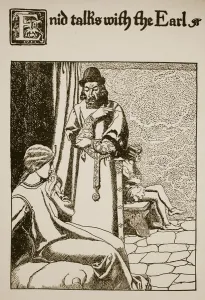
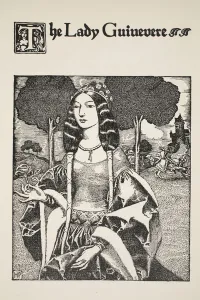
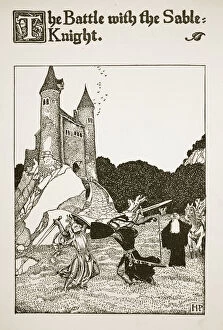
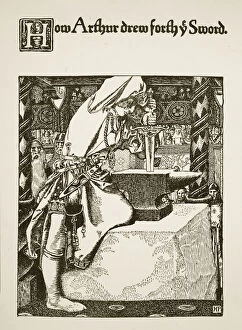
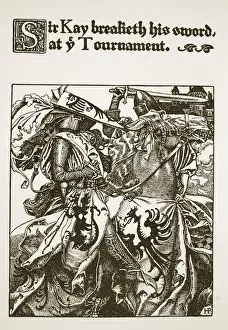
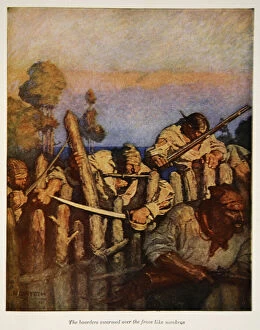
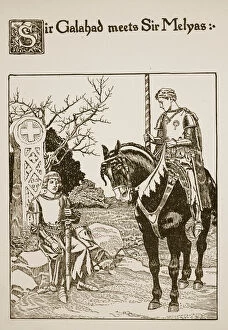
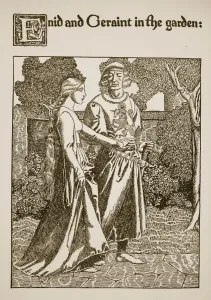
Brandywine School: A Glimpse into the Past "One more step, Mr. Hands, " said I, "and I'll blow your brains out. " These words from Robert Louis Stevenson's Treasure Island come to life in the captivating illustrations of Brandywine School. Known for their meticulous attention to detail and vibrant lithographs, this artistic movement emerged in the late 19th century. Along the Water Front in Old New York, an illustration from The Evolution of New York by Thomas A. Janvier (1893), transports us back to a bustling era where ships docked and traders bartered along the city's shores. Meanwhile, The News of the Execution of Louis XVI (litho) captures a pivotal moment in history when France was engulfed in revolution. The Assassination of La Salle takes us on an adventurous journey through Francis Parkman's book about exploration and discovery. With each stroke of lithography, we witness thrilling tales unfold before our eyes. Similarly, The Death of King Philip brings alive Native American history as depicted by A. Hayman in Harpers Magazine (1883). From legends to reality, Two Knights do battle before Cameliard illustrates scenes from Arthurian mythology with rich colors and intricate details that transport us into medieval times. And who can resist being captivated by A Virginia Plantation Wharf (1670s)? This lithograph published in Harpers Magazine (1896) offers a glimpse into colonial America's past. But it is not all glory and heroism; there is also tragedy within these artworks' frames. The fight in Fire-tops against an English ship depicts intense naval combat colored with bloodshed while Barbarously murdered: the first grievously wounded soldier showcases the harsh realities faced during war. Knights continue their epic battles within Brandywine School's collection as illustrated in another scene from The Story of King Arthur and his Knights (1903).