
Anglo Ashanti Wars Collection
The Anglo-Ashanti Wars were a series of conflicts that took place between the Ashanti Empire and the British Empire in the 19th century


All Professionally Made to Order for Quick Shipping
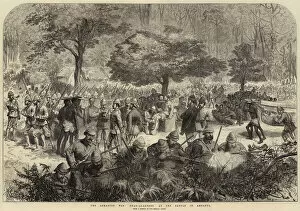
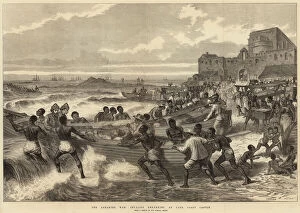
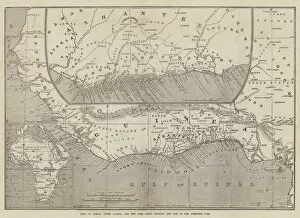
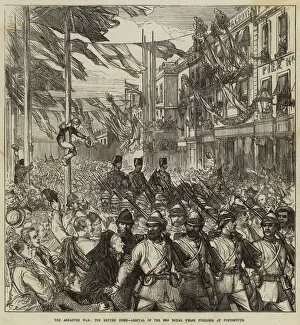
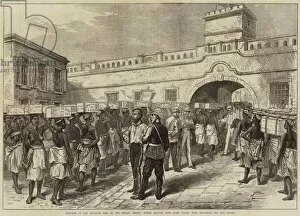
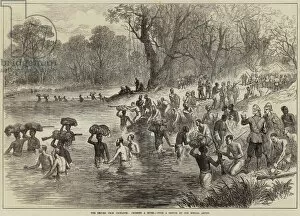
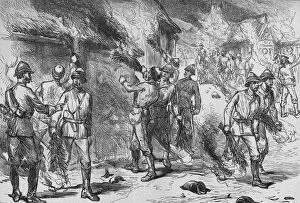
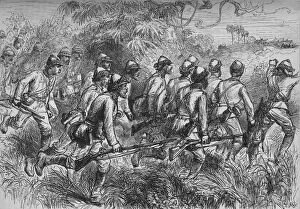
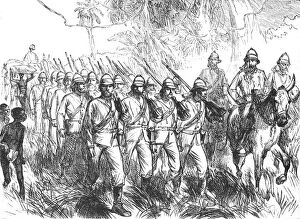
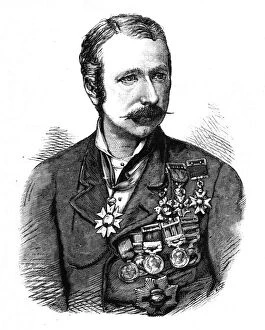
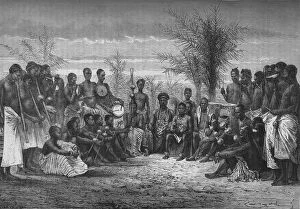
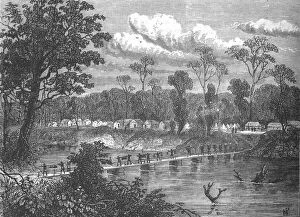
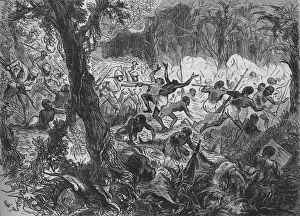
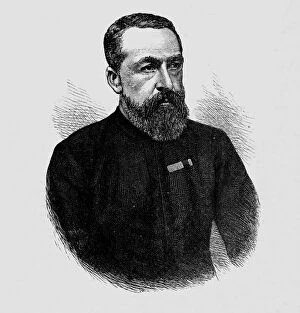
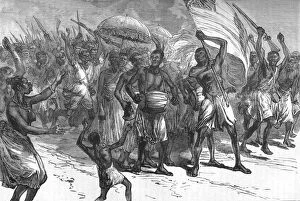
The Anglo-Ashanti Wars were a series of conflicts that took place between the Ashanti Empire and the British Empire in the 19th century. These wars, depicted in various engravings and lithographs, showcased both the bravery and hardships faced by soldiers on both sides. In "The Ashantee War (engraving), " we witness the intensity of battle as troops engage in combat. The Return of the Troops from Ashantee shows us a victorious moment for the Black Watch (42nd Highlanders) marching to Governors Green, Portsmouth. Their arrival is celebrated with pride and honor. Sir Garnet Wolseley's landing at Portsmouth is captured in another engraving titled "The Ashantee War, The Return Home. " This image symbolizes triumph after a long and arduous campaign. Meanwhile, Head-Quarters at the Battle of Amoaful provides insight into strategic planning during this conflict. One cannot overlook the toll war takes on individuals. In "The Ashantee War, Convoy of Sick and Wounded crossing a River on Road to Coomassie, " we see compassion amidst adversity as efforts are made to transport injured soldiers to safety. Advancing through challenging terrain was no easy feat for British forces during this campaign. A lithograph titled "Advance of British Force in Ashanti Campaign" showcases their determination despite facing numerous obstacles along their path. Even during times of departure or evacuation, such as seen in "The Ashantee War, Invalids embarking at Cape Coast Castle, " resilience remains evident among those involved. They leave behind a legacy marked by courage and sacrifice. As they pushed forward towards Coomassie, soldiers fought relentlessly against nature itself while carving out paths through dense forests ("Fighting a road through forest on way to Coomassie"). Such dedication exemplifies their unwavering commitment to achieving victory. Eventually returning home after these tumultuous battles brought mixed emotions for many servicemen.