
Across Australia Collection
"Journey Across Australia: A Kaleidoscope of Color and Adventure" Embark on a visual odyssey across the vast landscapes of Australia


All Professionally Made to Order for Quick Shipping
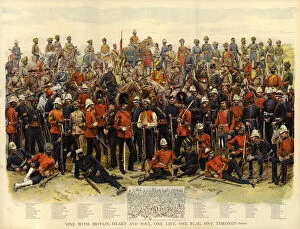
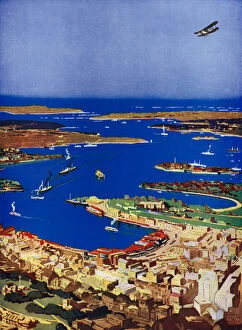
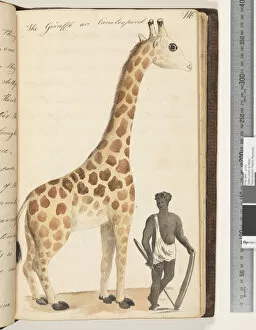
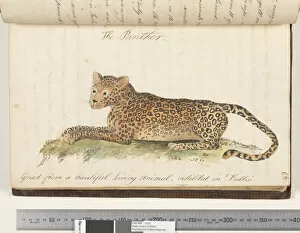
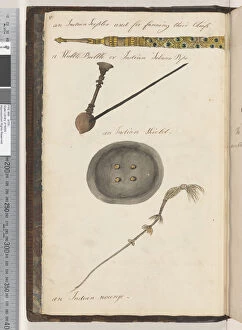
"Journey Across Australia: A Kaleidoscope of Color and Adventure" Embark on a visual odyssey across the vast landscapes of Australia, where every turn reveals breathtaking sights and captivating stories. Eastern Geelong welcomes us with its vibrant hues, inviting us to explore its hidden treasures. Warrnambool beckons with its own palette of colors, promising unforgettable experiences. Amidst the azure waters, a young bather engages in a desperate and terrible fight against a shark - an awe-inspiring moment frozen in time through a vivid lithograph. The Australian rendition of "The Rape of the Sabine Women" captivates our attention, showcasing artistic prowess intertwined with local history. Intriguing contrasts emerge as we delve into history's depths. Witnessing "Might versus Right, " depicted in watercolors from 1861, reminds us of the eternal struggle for justice. Sheep-shearing scenes come alive through lithographs that depict the heart and soul of rural Australia. A surveying party on the North West Coast unveils untamed beauty captured on canvas - an invitation to immerse ourselves in untouched wilderness. Sydney Harbour dazzles us with its colorful lithographic portrayal; New South Wales' iconic landmark radiates charm like never before. Turning pages reveal more wonders: "The Great Lion Monkey" leaps out at us alongside intricate manuscript text from Coote's collection dating back to 1810-17. We encounter fearsome creatures such as crocodiles and giraffes brought to life by masterful watercolor strokes accompanied by handwritten descriptions. Finally, Dublin's exhibition showcases "The Panther, " meticulously copied from a living animal - an exquisite testament to both artistry and nature's marvels. Join us as we traverse this diverse continent brimming with natural splendor, historical significance, and artistic brilliance – capturing hearts along the way.