
2nd Boer War Collection (page 7)
"The 2nd Boer War: A Glimpse into the Heroic Struggles and Determination" Amidst the chaos of the 2nd Boer War


All Professionally Made to Order for Quick Shipping
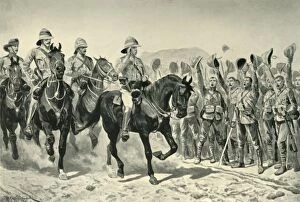
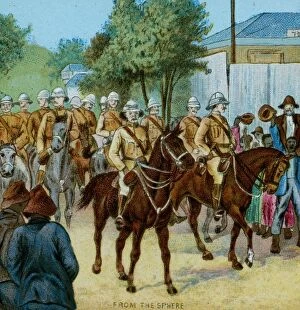
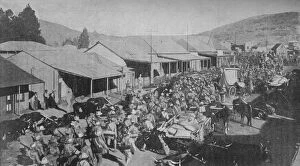
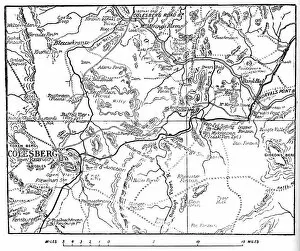
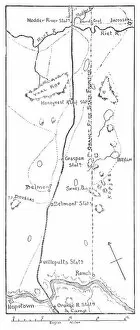
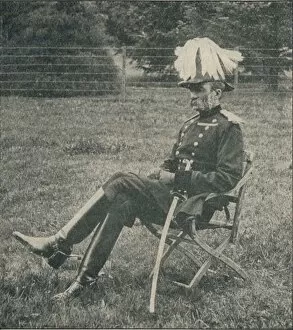
"The 2nd Boer War: A Glimpse into the Heroic Struggles and Determination" Amidst the chaos of the 2nd Boer War, a Household Cavalry-Captain from the esteemed 2nd Life Guards stands tall in his resolute stance. The year is 1900, and Gregory & Co immortalize this brave warrior through their artistic lens. In another corner of Cape Town, the Cape Town Highlanders march with pride. JE Bruton captures their unwavering spirit as they prepare to face the challenges that lie ahead in this tumultuous time. Lord Methuen emerges as an inspiring figure amidst adversity at Tweebosch in 1902. Charles Mills Sheldon's masterpiece illustrates his valiant efforts to rally his broken forces, showcasing leadership that refuses to waver even in dire circumstances. The Night Charge of the 19th Hussars near Lydenberg on November 7th, 1900 becomes a legendary tale etched by an anonymous creator. This breathtaking artwork encapsulates bravery under cover of darkness as these soldiers charge forward fearlessly. Major-General Hector A. Macdonald, C. B. , takes center stage in Heath's portrait from 1900. His distinguished presence exemplifies courage and resilience during this arduous conflict. General Sir Bindon Blood personifies strength and determination in Donald McCracken's portrayal from 1902. As a prominent military leader during this war, he embodies strategic brilliance while navigating treacherous terrains. John Charlton brings alive "The Fight at Brakenlaagte: Boers Charging" from 1902—a vivid depiction capturing intense moments where both sides clash fiercely for victory on unforgiving battlegrounds. Walter Paget unveils an intriguing scene titled "Boers Caught in the Act of Cutting Telegraph Wires" from 1902—an image that exposes cunning tactics employed by resourceful Boer fighters.